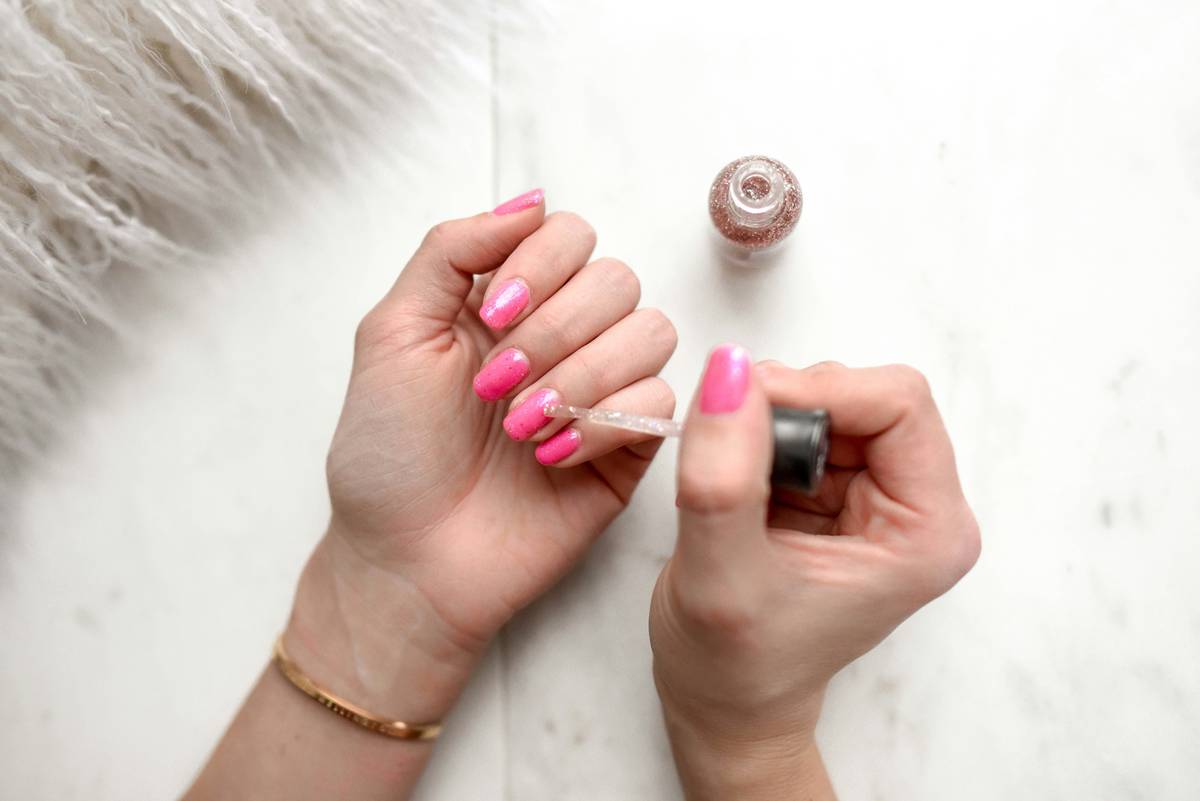
You spend hours on a flawless manicure—only to watch rhinestones pop off by day two. Glitter clumps. Foils tear. Metallic powders smear into muddy streaks. Frustrating? Absolutely. But here’s the truth: most nail art embellishment fails aren’t your fault—they’re caused by using the wrong tools for the job. The fix isn’t more glue—it’s smarter strategy.
Why Off-the-Shelf Tools Sabotage Your Nail Art Embellishment
Most beginners grab tweezers from their makeup kit or clear top coat from a drugstore rack. Big mistake. Standard tweezers lack anti-static tips, causing tiny gems to repel instead of adhere. Regular top coats dry too slowly under heavy embellishments, trapping moisture that loosens adhesion over time.
And don’t get me started on those “nail art kits” sold online. Half the brushes shed bristles. Dotting tools have inconsistent tips. You’re not unskilled—you’re under-equipped.
Your Step-by-Step Guide to Flawless Nail Art Embellishment
Tool Selection Based on Embellishment Type
Not all sparkles behave the same. Rhinestones need precision grip. Glitter requires controlled dispersion. Foil demands smooth transfer without wrinkles. Match your tool to your medium—or risk a messy outcome.
The Right Adhesion Method Matters More Than You Think
Forget “more glue = better hold.” Over-application creates a sticky film that attracts lint and delays drying. Instead, use a targeted tacky layer—applied only where the embellishment will sit. Let it get sticky (not wet), then press gently with a silicone-tipped pusher. Cure or air-dry as needed.
Drying & Sealing Without Distortion
Heavy-duty embellishments like cabochons or 3D charms need structural support. Apply a thin ridge of builder gel around the base before sealing. This acts like scaffolding—keeping everything locked in place while your top coat cures evenly.
| Embellishment Type | Ideal Tool | Best Adhesive | Drying Time (Air-Dry Systems) |
|---|---|---|---|
| Rhinestones & Micro Gems | Anti-static reverse-action tweezers | Tacky layer of gel top coat or nail glue pen | 60–90 seconds (to set) |
| Loose Glitter | Flat shader brush or stamper | Glitter-specific suspension base | 2–3 minutes |
| Foil & Leaf | Soft foam applicator or foil roller | Foil adhesive or sticky base coat | 45 seconds |
| 3D Charms & Studs | Silicone-ended dotting tool | Builder gel + UV/LED cure | Requires lamp curing (30–60 sec) |
The Industry Secret: Embellishment Longevity Starts at the Base
Here’s what salon pros won’t tell you: your base coat determines 70% of how long your nail art embellishment stays put. Most DIYers skip proper dehydration—leaving natural oils on the nail plate. Those oils migrate over time, breaking the bond between adhesive and nail.
The fix? After buffing, wipe nails with 99% isopropyl alcohol—not acetone. Then apply a rubberized base coat (like those used for gel extensions). It grips like Velcro. I’ve seen clients walk into my studio after 18 days with every gem intact—because we nailed the foundation first.
Frequently Asked Questions
Can I reuse nail art embellishment tools?
Yes—if cleaned properly. Soak metal tools in alcohol, rinse brushes with monomer (not water), and store everything dry. Dirty tools harbor bacteria and degrade performance.
How do I stop glitter from sticking to my skin during application?
Apply liquid latex or peel-off barrier around nails before sprinkling. It peels away cleanly—taking stray glitter with it. No scrubbing required.
Do LED lamps work for sealing embellishments?
Only if you’re using gel-based adhesives. Air-dry systems won’t benefit—and may yellow under UV exposure. Stick to your system type.